New Feature: Add to Queue — One-Click Scheduling
Set your posting schedule once, then click 'Add to Queue' to automatically schedule posts to the next available slot. No more picking times manually.
Quick answer
Schedulala's Add to Queue feature lets you set a posting schedule once and then add content to the next available time slot with one click.
- •Set recurring time slots per platform (e.g., Mon/Wed/Fri at 9am for Instagram)
- •Click Add to Queue and the post auto-schedules to the next open slot
- •Rearrange queued posts by drag-and-drop in the calendar view
- •Available on all Schedulala plans starting at $9/month for 10 accounts
Picking a time for every single post is tedious. You know when you want to post — 9 AM, noon, 5 PM, whatever works for your audience. Why click through a date picker every time?
Add to Queue fixes this. Set your posting schedule once, then just click "Add to Queue" when you're done creating a post. Done. Next available slot. No thinking required.
Try Schedulala for free
Schedule posts to Bluesky, Twitter, and 8 other platforms from one dashboard.
Get started for free→How It Works
1. Set Up Your Queue (One Time)
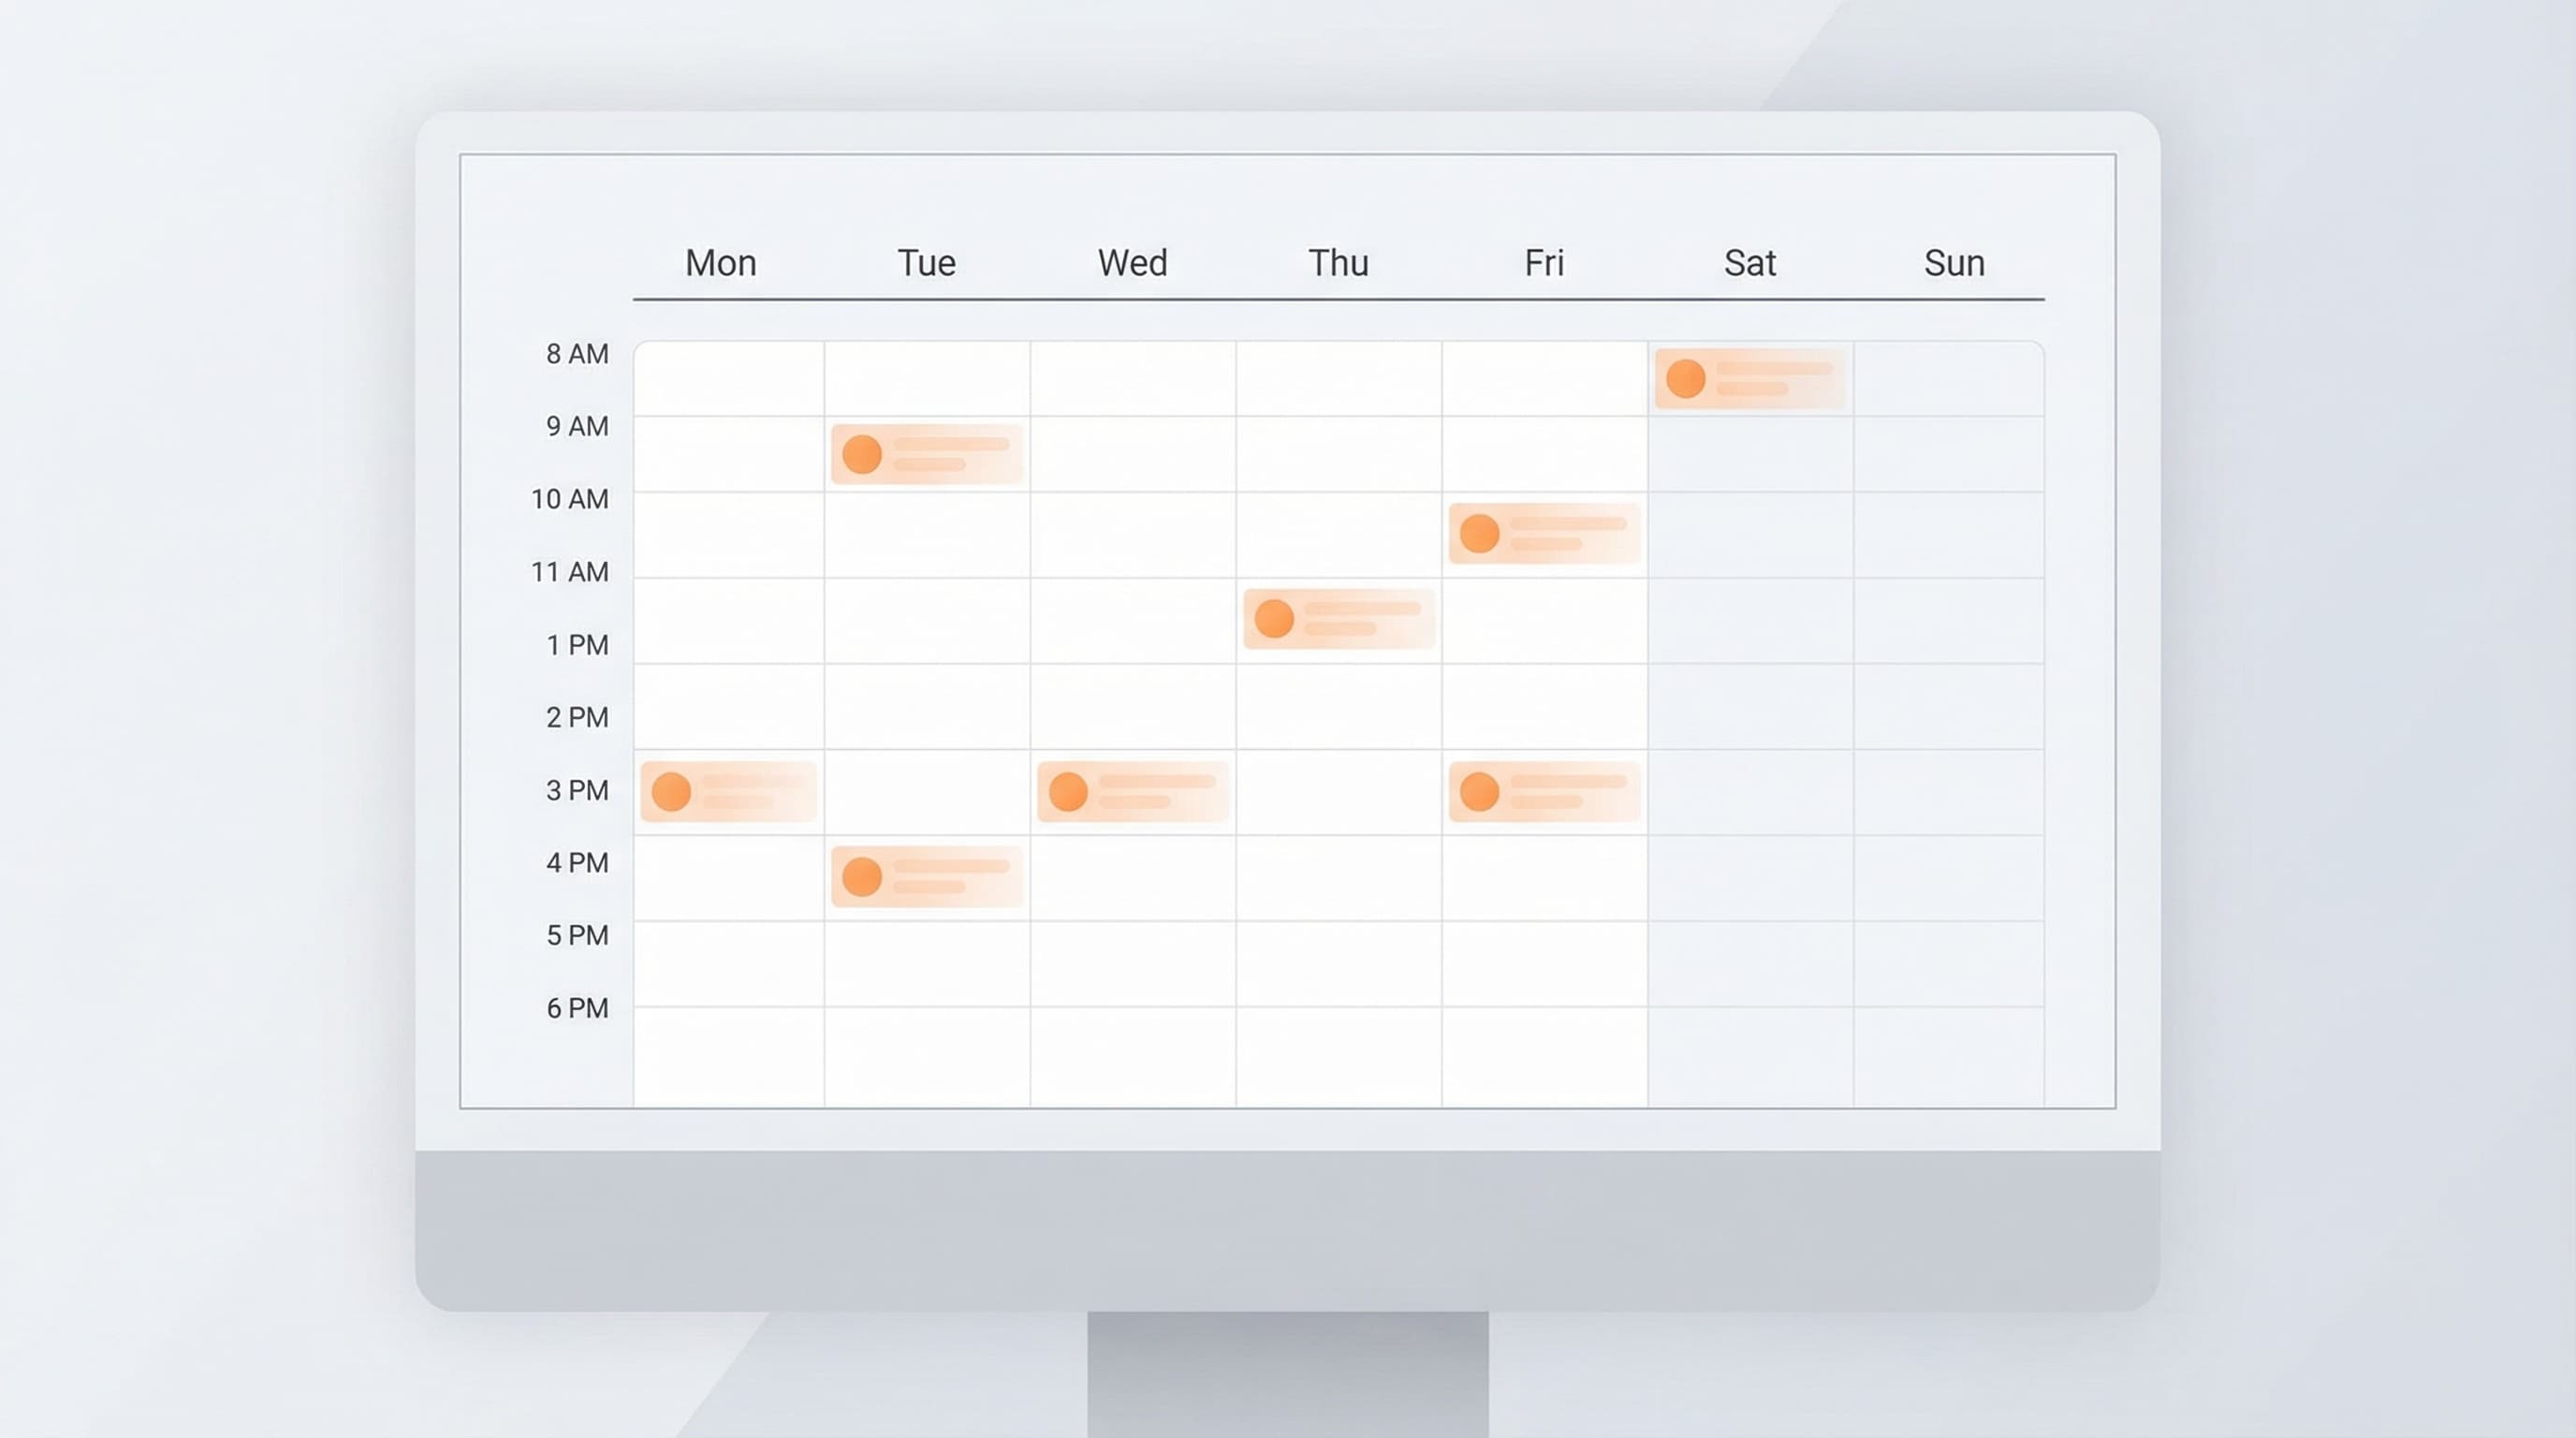
Go to Settings → Queue Settings. You'll see a visual calendar grid. Click the time slots when you want posts to go out — maybe 9 AM and 5 PM on weekdays, or noon every day.
Quick-fill buttons let you select "Weekdays" or "Every Day" with one click. Pick your timezone, save, and you're done. Takes 30 seconds.
2. Create Your Post
Write your post like normal. Add your image or video. Pick your platforms.
3. Click 'Add to Queue'
Instead of "Schedule" or "Post Now", pick "Add to Queue". You'll see the next available slot (like "Tomorrow at 9:00 AM"). Hit the button and your post is queued.
Schedulala automatically skips slots that already have posts, so your queue stays nicely spaced.
Why You'll Love It
This feature came directly from user feedback. Someone asked "why can't I just set my times once and forget about it?" Good question. Now you can.
Get Started
The queue feature is live now for all users. Head to Settings → Queue Settings to set up your schedule. Next time you create a post, you'll see the new "Add to Queue" option.
Got ideas for more features? Reply to any email from us or hit us up on Twitter. We build what you ask for.
Try Schedulala for free
Schedule posts to Bluesky, Twitter, and 8 other platforms from one dashboard.
Get started for free→