YouTube Shorts Editing Tips: Pro Techniques That Get Views
Master YouTube Shorts editing with pro techniques. Learn cuts, transitions, hooks, and tools that boost engagement and views in 2026.
Quick answer
Edit YouTube Shorts like a pro with quick cuts every 2-3 seconds, text overlays, trending audio, and a strong visual hook in the first frame.
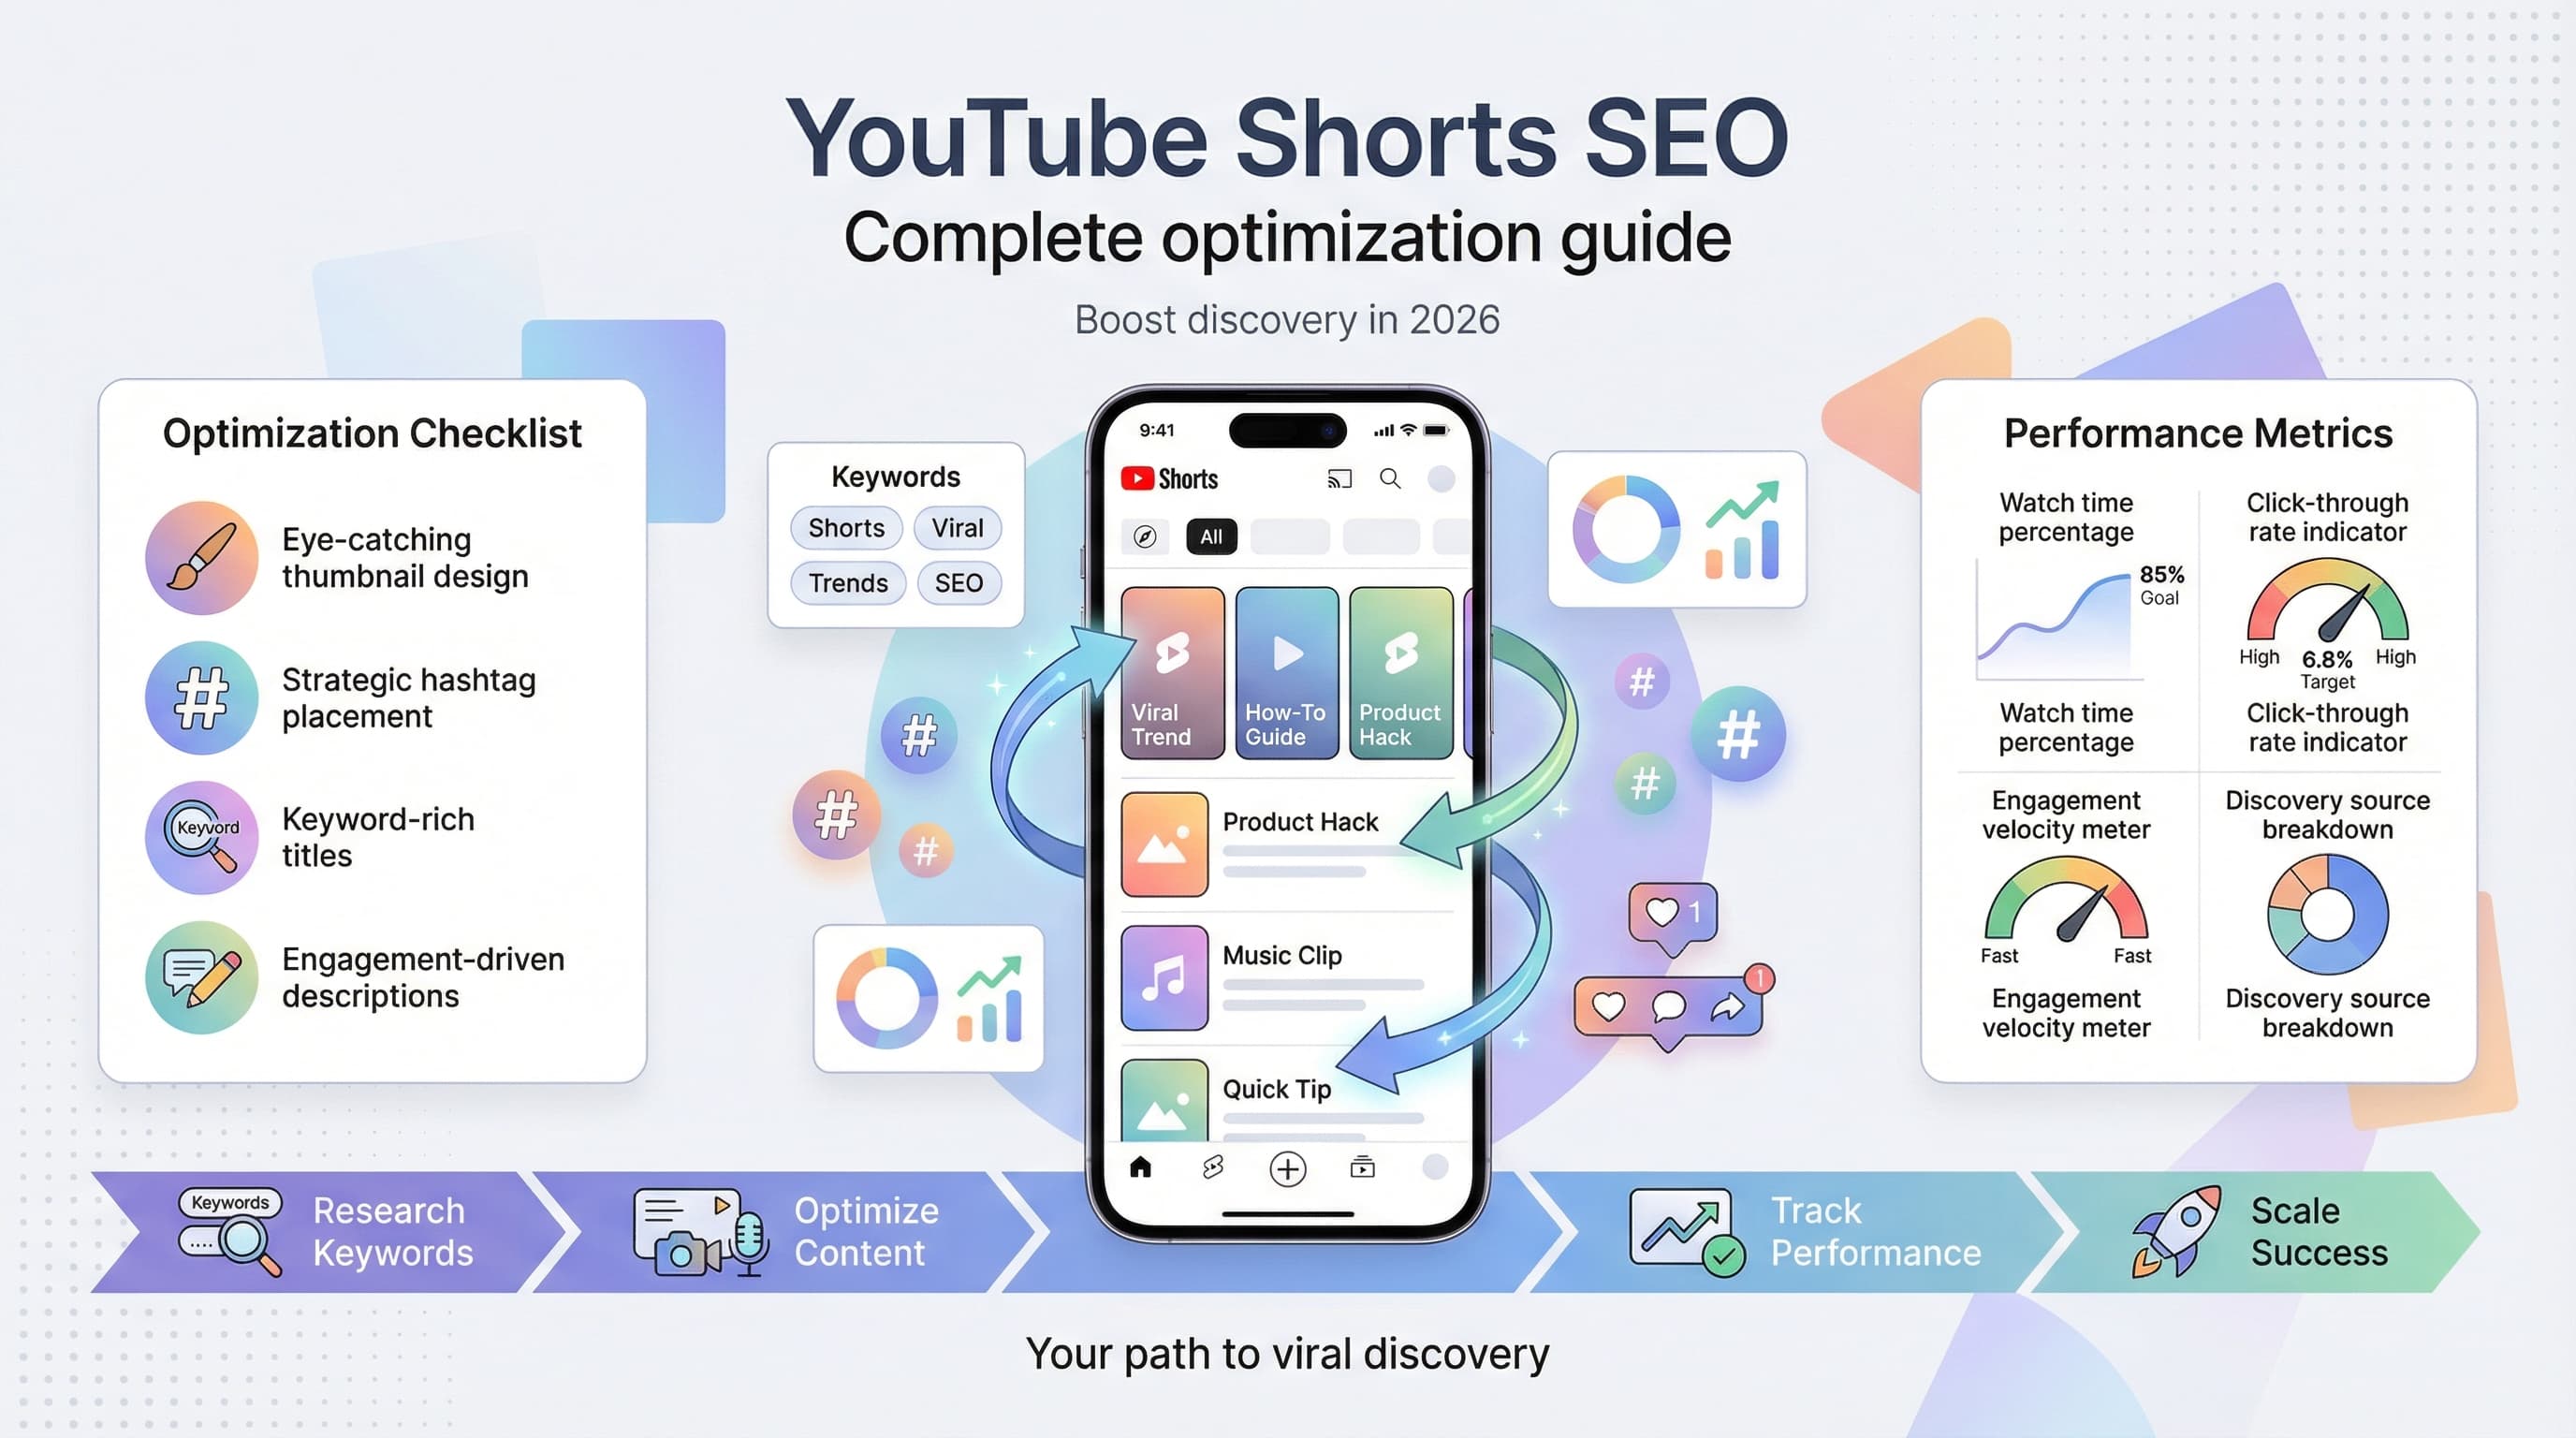
- •Shorts should be 9:16 vertical format at 1080x1920 pixels
- •Quick cuts every 2-3 seconds keep viewer retention high
- •Free editing tools: CapCut, InShot, and YouTube's built-in Shorts editor
- •Add captions since 85% of short-form video is watched without sound
Your YouTube Short gets three seconds. Maybe less. Our YouTube scheduling can help.
See It in Action
This is what scheduling YouTube Shorts looks like in Schedulala
That's how long viewers take to decide if they'll keep watching or swipe to the next video. The difference between going viral and getting ignored often comes down to how well you edit those crucial opening moments. Try our how to repurpose content.
Want to turn your raw footage into scroll-stopping Shorts that actually perform? See our youtube shorts ideas 100 guide.
Try Schedulala for free
Schedule posts to Bluesky, Twitter, and 8 other platforms from one dashboard.
Get started for free→The anatomy of viral YouTube Shorts editing
Before diving into specific techniques, you need to understand what makes YouTube Shorts different from regular videos. The vertical format, 60-second limit, and swipe-based discovery change everything about how you should edit. Our scheduling across platforms can help.
The 3-second rule
Most viewers decide to keep watching within the first three seconds. Your edit needs to deliver value, entertainment, or intrigue immediately. No slow builds or long intros work here. See our best time to post on youtube guide.
Start with your best moment, biggest reveal, or most compelling visual. Then work backward to build context. This reverse storytelling approach hooks viewers before they understand why they should care. See our youtube font generator guide.
Vertical storytelling
The 9:16 aspect ratio isn't just a technical requirement. It changes how viewers consume your content. They hold their phones naturally, often scrolling with one hand while multitasking.
Your edits should account for divided attention. Use larger text, bolder visuals, and clearer audio than you would for landscape videos. Everything needs to be readable and understandable even when someone is half-watching.
Essential editing techniques for YouTube Shorts
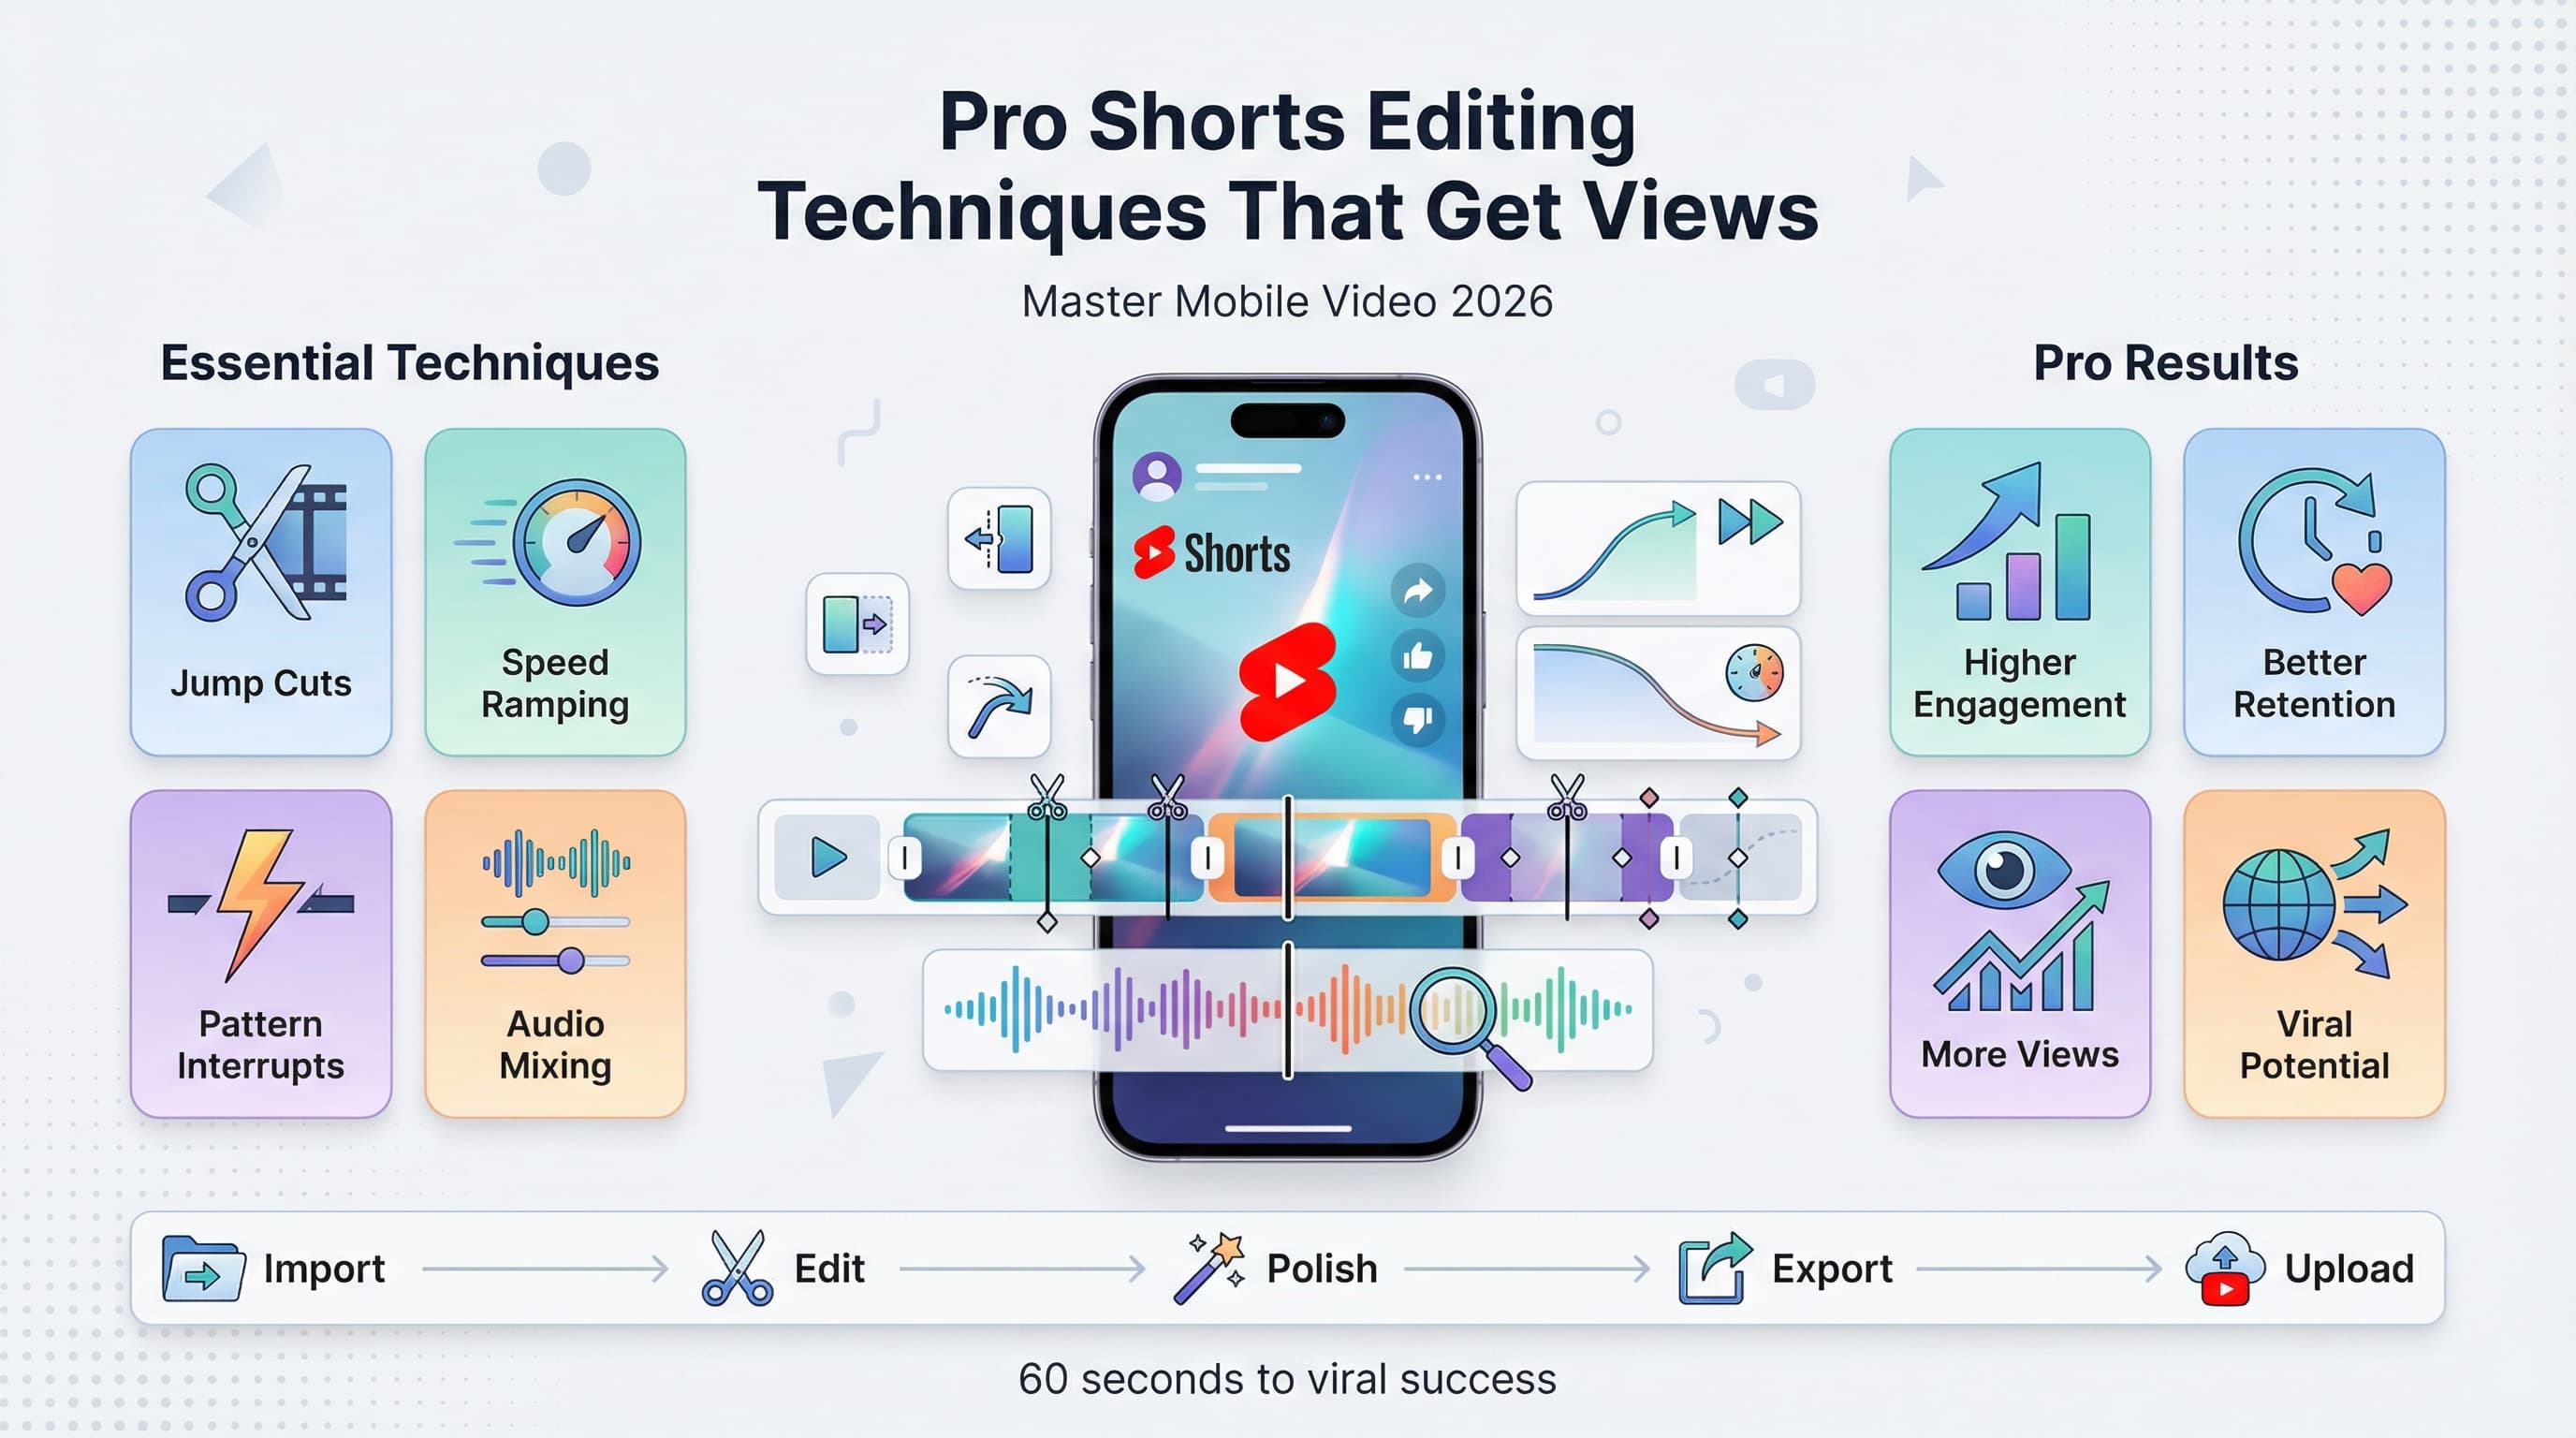
Jump cuts that maintain energy
Jump cuts are your best friend for YouTube Shorts, but not all jump cuts are created equal. The key is cutting out dead air while maintaining natural speech rhythm.
Cut between phrases, not in the middle of words. Leave just enough pause between sentences to feel natural but remove any hesitations or filler words. Your goal is to compress time without making it feel rushed.
When jump cutting, change your camera angle slightly or zoom in/out about 20% to make the cuts less jarring. This technique, called "covering the cut," keeps viewers engaged without drawing attention to the edit itself.
The power of pattern interrupts
Pattern interrupts are sudden changes that reset viewer attention. When someone starts to lose interest, a well-timed interrupt pulls them back in.
These could be quick zooms, color changes, sound effects, or completely different shots. Use them strategically every 5-7 seconds to maintain engagement throughout your entire Short.
The most effective pattern interrupts feel organic to your content. If you're doing a cooking video, the sizzle of food hitting a pan works better than a random sound effect.
Speed ramping for impact
Speed ramping involves changing the playback speed of your footage to create dramatic effect. Slow down the moment of impact, revelation, or emotional peak. Speed up setup, transitions, or repetitive actions.
Most editing apps let you adjust speed with curves rather than fixed percentages. This creates smoother transitions between normal and altered speeds. A gradual ramp feels more professional than an abrupt change.
Audio editing secrets for YouTube Shorts
Audio carries more weight in Shorts than most creators realize. Good audio can save mediocre visuals, but great visuals can't save bad audio.
Voice audio optimization
Your voice should be crisp, clear, and slightly louder than feels natural. YouTube's compression algorithm can muddy quiet audio, so record with more gain than usual.
Use a high-pass filter to remove frequencies below 80Hz unless your content specifically needs bass. This cleans up rumble and makes your voice cut through background noise better on phone speakers.
Compress your voice audio with a 3:1 ratio to even out volume differences. Add a gentle limiter to prevent peaks from clipping. Most mobile editing apps have automatic options that work well for speech.
Music and sound effects
Background music should support your content without competing with your voice. Use YouTube's Audio Library or copyright-free sources to avoid content ID issues.
Layer multiple audio elements to create depth. Start with background music, add your voice, then include sound effects for emphasis. Keep music 15-20dB below your voice level.
Match your music tempo to your edit pace. Fast cuts work better with upbeat music. Dramatic reveals need space in the soundtrack. The audio should enhance your visual rhythm, not fight against it.
Audio transitions and cuts
Cut audio and video separately for smoother transitions. You might need to extend audio under a visual cut or cut audio early while extending video.
Use audio crossfades between different music tracks or sound sources. A 0.1-second crossfade is usually enough to smooth jarring transitions without creating noticeable overlaps.
Visual effects and graphics for Shorts
Text overlays that work
Text should be large, bold, and high contrast. Use fonts that are easy to read on small screens. Sans-serif fonts like Arial, Helvetica, or Roboto work better than decorative typefaces.
Keep text on screen long enough to read twice. A good rule is one second per three words, minimum. Don't make viewers pause to read your content.
Position text in the safe zone between the top and bottom thirds of your frame. This avoids interference with YouTube's UI elements and ensures readability across different devices.
Use text animations sparingly. A simple fade or slide can add polish, but complex animations distract from your message. The text content matters more than flashy effects.
Color grading for mobile viewing
Increase saturation by 10-15% compared to what looks natural on your computer monitor. Phone screens often display colors less vibrantly, especially in bright environments.
Boost contrast to make your subject pop against the background. The small screen size means subtle differences in tone get lost. Be more aggressive with your color separations.
Avoid extreme color grades unless they serve a specific purpose. The goal is to make your content look better on phones, not to create an artistic statement that might not translate.
Simple motion graphics
Arrows, circles, and highlight boxes can direct attention to important elements. Keep these graphics simple and on-brand with your content style.
Animate graphics with purpose. An arrow that draws on to point at something works better than one that just appears. The animation should guide the viewer's eye through your content.
Step-by-step editing workflow
Having a consistent workflow saves time and ensures you don't miss important steps. Here's a proven process that works for most YouTube Shorts:
Step 1: Rough assembly
Import all your footage and audio into your editing app. Watch everything once to identify the best moments and any technical issues.
Create a rough timeline with your strongest content first. Don't worry about precise timing yet. Focus on getting the basic story structure in place.
Mark any footage that needs color correction, audio repair, or other fixes. Handle technical issues early so they don't slow down your creative process later.
Step 2: Audio foundation
Lock in your audio track first. This includes dialogue, music, and any key sound effects. Audio provides the backbone that your visual edits will follow.
Sync any separately recorded audio if needed. Adjust levels so speech is clear and music supports without overwhelming.
Add markers at key audio moments like beats, pauses, or emphasis points. These will guide your visual cuts and timing.
Step 3: Visual cuts and timing
Make your primary cuts based on the audio markers you created. Cut on natural pauses in speech or on musical beats when possible.
Trim out any dead space, hesitations, or mistakes. Your Short should feel energetic and purposeful from start to finish.
Add B-roll, cutaways, or alternate angles to cover jump cuts and add visual interest. Every shot should contribute something to the story.
Step 4: Effects and polish
Add text overlays, graphics, and any visual effects. Keep these elements consistent in style and timing throughout your Short.
Apply color correction and grading to make your footage look its best on mobile devices. Increase contrast and saturation modestly.
Add transitions between scenes if needed, but prefer cuts over fancy wipes or dissolves. Shorts work best with snappy pacing.
Step 5: Final review
Watch your completed Short on a phone if possible. Check that text is readable, audio is clear, and pacing feels right for mobile viewing.
Export at 1080x1920 resolution with H.264 codec for best YouTube compatibility. Use high bitrate settings to maintain quality through YouTube's compression.
Platform-specific editing considerations
YouTube's algorithm preferences
YouTube's algorithm favors Shorts that keep viewers watching until the end. Your editing should build toward a satisfying conclusion rather than front-loading all the good content.
Use cliffhangers and preview hooks to maintain interest. Show quick glimpses of what's coming later in the video during the first few seconds.
The algorithm also considers how quickly people engage with your Short. Edit your opening to prompt immediate likes, comments, or shares through compelling content or direct calls-to-action.
Cross-platform repurposing
If you plan to post on TikTok, Instagram Reels, or other platforms, edit with multiple aspect ratios in mind. Keep important elements centered and avoid text too close to edges.
Each platform has different optimal lengths. YouTube Shorts can be up to 60 seconds, while TikTok varies by region. Edit a master version, then trim for specific platforms.
Common editing mistakes to avoid
Overcomplicating the edit
New creators often add too many effects, transitions, and graphics thinking it makes their content more professional. Usually, it does the opposite.
Focus on clean cuts, good audio, and clear visuals. Master the basics before adding complex effects. Your story and delivery matter more than flashy editing.
Ignoring mobile viewing experience
Editing on a computer can make you forget that most viewers watch on phones. Text that looks fine on your monitor might be unreadable on a 6-inch screen.
Audio mixed for computer speakers often doesn't work on phone speakers. Always do a final check on the actual device your audience uses.
Inconsistent pacing
Shorts need consistent energy throughout. Starting fast then slowing down loses viewers. If anything, build energy as you progress toward your conclusion.
Every second needs to justify its existence. If a moment doesn't advance your story or add value, cut it. Ruthless editing separates good Shorts from great ones.
Poor audio levels
Inconsistent audio levels distract viewers from your content. Use compression and limiting to keep voice levels steady throughout your Short.
Background music that's too loud competes with your message. Music should enhance, not overpower. When in doubt, turn the music down another few decibels.
Tools and apps for editing YouTube Shorts
Mobile editing apps
CapCut offers professional features for free and handles vertical video natively. It includes templates, effects, and automatic subtitles that work well for Shorts.
InShot provides a simpler interface that's perfect for quick edits. It has good text tools and basic color correction without overwhelming beginners.
Adobe Premiere Rush bridges mobile and desktop editing. Projects sync between devices, letting you start on your phone and finish on your computer.
Desktop editing software
DaVinci Resolve is free and offers professional-grade color correction and audio tools. Create custom workspace layouts optimized for vertical video editing.
Adobe Premiere Pro remains the industry standard for professional editing. Its multi-format timeline makes it easy to edit for multiple platforms simultaneously.
Final Cut Pro (Mac only) has excellent performance with large video files and intuitive audio editing tools that work well for speech-heavy Shorts.
Specialized tools
Descript lets you edit video by editing text transcripts. This approach works especially well for educational or talking-head style Shorts where precise word timing matters.
Canva's video editor includes templates designed specifically for social media formats, making it easy to create consistent branding across your Shorts.
Advanced techniques for experienced editors
Dynamic text animations
Create text that appears in sync with your speech using keyframe animation. Words can slide in, fade up, or change color as you say them.
Use text as a design element, not just information delivery. Large, bold words can fill the frame during key moments, adding visual impact to important points.
Advanced audio techniques
Layer multiple audio tracks to create rich soundscapes. Combine ambient sound, focused effects, music, and voice to immerse viewers in your content.
Use audio ducking to automatically lower music when you speak and raise it during pauses. This maintains energy while keeping speech clear.
EQ different audio sources to sit in their own frequency ranges. High-pass filter music below 150Hz to leave room for voice fundamentals around 100-200Hz.
Color psychology in editing
Use color temperature changes to guide emotional responses. Warmer colors feel friendly and approachable, while cooler colors suggest professionalism or drama.
Create visual continuity by maintaining consistent color palettes throughout your Short. This makes jump cuts less jarring and gives your content a polished feel.
Subliminal editing techniques
Flash important text or images for 2-3 frames (about 0.1 seconds) during transitions. This creates subconscious emphasis without disrupting the main content flow.
Use the rule of thirds for both static compositions and motion graphics. Elements that align with these invisible grid lines feel more balanced and professional.
Measuring editing success
Key metrics to watch
Average view duration tells you how well your editing maintains interest. Compare this across different editing styles to see what works for your audience.
Audience retention graphs show exactly where viewers drop off. Use this data to identify editing problems and refine your technique.
Engagement rate (likes, comments, shares per view) indicates how your editing affects viewer response. Compelling edits drive more engagement.
A/B testing your edits
Create multiple versions of the same Short with different editing approaches. Post them at similar times and compare performance.
Test one variable at a time: opening hooks, pacing, music choices, or text styles. This helps you identify which specific editing decisions drive better results.
Final verdict on YouTube Shorts editing
Great YouTube Shorts editing isn't about showing off technical skills. It's about serving your audience's attention span and viewing habits while supporting your content goals.
Master the fundamentals first: clean cuts, clear audio, readable text, and consistent pacing. These basics matter more than any advanced technique or expensive software.
Remember that editing should enhance your story, not replace it. No amount of flashy effects can save boring content, but good editing can turn great content into viral content.
Try Schedulala for free
Schedule posts to Bluesky, Twitter, and 8 other platforms from one dashboard.
Get started for free→![YouTube Shorts Script Templates [Free Download] - 15 Proven Templates That Drive Views](/_next/image?url=%2Fblog%2Fyoutube-shorts-script-templates%2Fheader.jpeg&w=3840&q=75&dpl=dpl_GkyztBEXuuXhWyToUzpRTzGUmrPC)